Blog Barista: Jessica Davis | October 9, 2019 | Productivity | Brew time: 6 min
Welcome to Part 2 of the Harnessing the Power of Microsoft Word series. In case you missed it, I covered Microsoft Word’s editing symbols, ruler, and navigation pane features in Part 1. Today, I’m going to talk about templates.
Templates can help you and your authors create new documents more expediently. They can also guide your authors by supplying headings and instructional text to ensure your authors include all the relevant information. Templates can even contain boilerplate text to minimize the amount of content that your authors have to write.
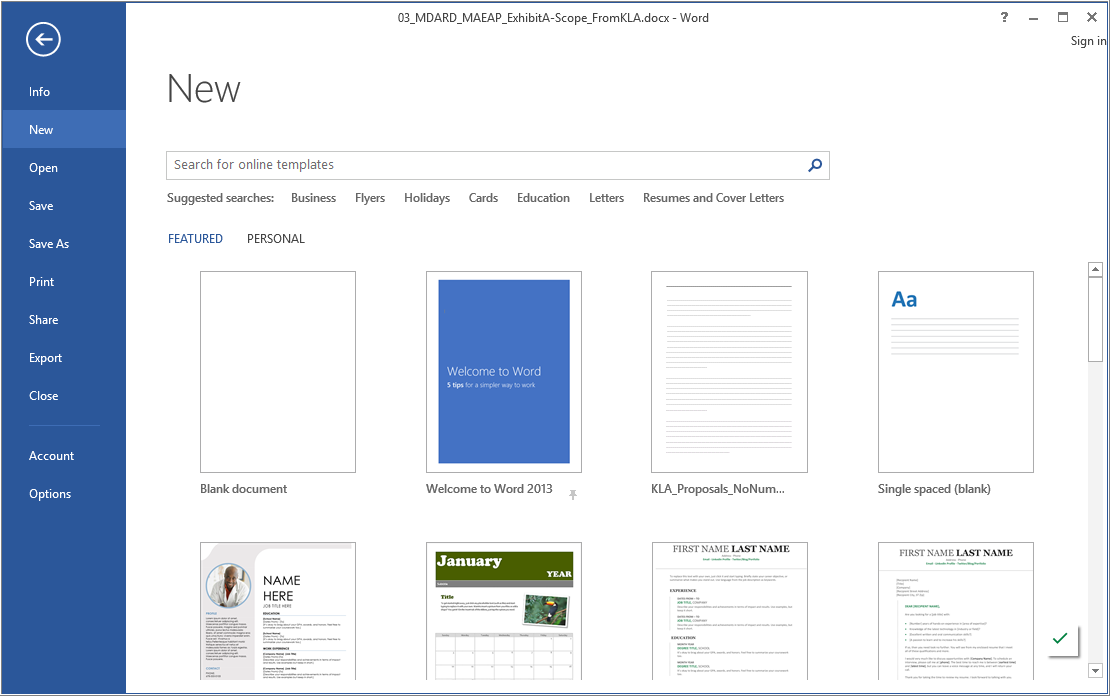
One thing that is important to understand is that every document you create is based on a template. When you select the option to create a new document, Word presents you with a screen to select a template. If you select Blank document, you are creating a new document based on Word’s default template, which is called the Normal template.
Think of a template as a container for anything and everything you want to be available to you or your authors when writing a new document. Templates can contain elements such as:
- Page layout information such as page size, orientation, and margins;
- Pre-configured sections and content to minimize the work authors have to do to create a brand new document;
- Paragraph, character, and table styles for fast, easy, and consistent formatting of content;
- Auto-text and building blocks for quick insertion of frequently reused content;
- Document properties that can be used as variables to support content reuse; and
- Macros for automating repetitive tasks or transforming content.
In addition to being the starting point for new documents, it’s worth noting that if structured properly, you can use a template to transform a document. That is, if you use the same style names from one template to the next, you can quickly reformat text by applying a different template to an existing document. This makes content reuse or content transformation very easy.
For example, say you have a user’s guide that is 8.5 x 11 and you want to change the guide to a new 7 x 5.5 format with completely different fonts, colors, and conventions. As long as the new template has the same style names, you can transform the document with just a couple of clicks by attaching the new template and selecting the option to update.
This post focuses on the mechanics of creating and accessing templates. It doesn’t go into detail about how to format the content that lives in your templates. That is something I will get into in later posts. For now, it’s important to understand that all documents are based on an underlying template and that you can create your own templates. It’s also important to understand where your templates are stored.
Finally, Word templates have a different file extension than Word documents. Depending upon the version of Word you are using and whether the document contains macros, Word templates have the following extensions:
- dot (Word 2003 or older),
- dotx (newer versions of Word), and
- dotm (macro-enabled templates).
When you select a template during new document creation, Word creates a doc file based on the dot/dotx/dotm template file.
The rest of this post explains how to define a location for your templates, how to create a template, how to access your templates, and how to apply a template to an existing document.
Define Your Template Location
The default location of your templates depends upon your version of Word and it can change whenever you upgrade your version of Word. By default, Word 2016 saves template files in:
C:\Users\user name\AppData\Roaming\Microsoft\Templates.
Note: AppData is a folder that Windows hides unless you explicitly enable view of hidden folders. For this reason, and to make locating and updating template files easier for everyone, I recommend changing this location to a standard location that all your authors use. For example, something like C:\Templates\Word.
To set the location of your Word templates:
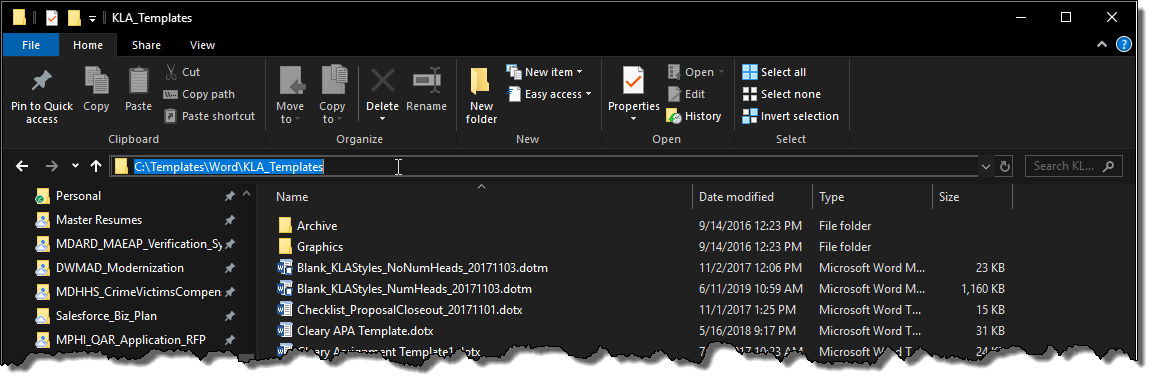
1. Create the folder structure to house your templates. Optionally, copy the path from the File Explorer address bar.
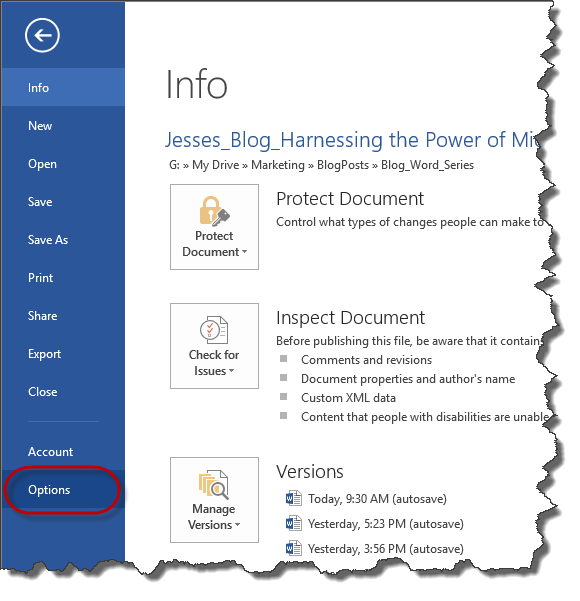
2. In Word, select File > Options.
3. On the Word Options dialog:
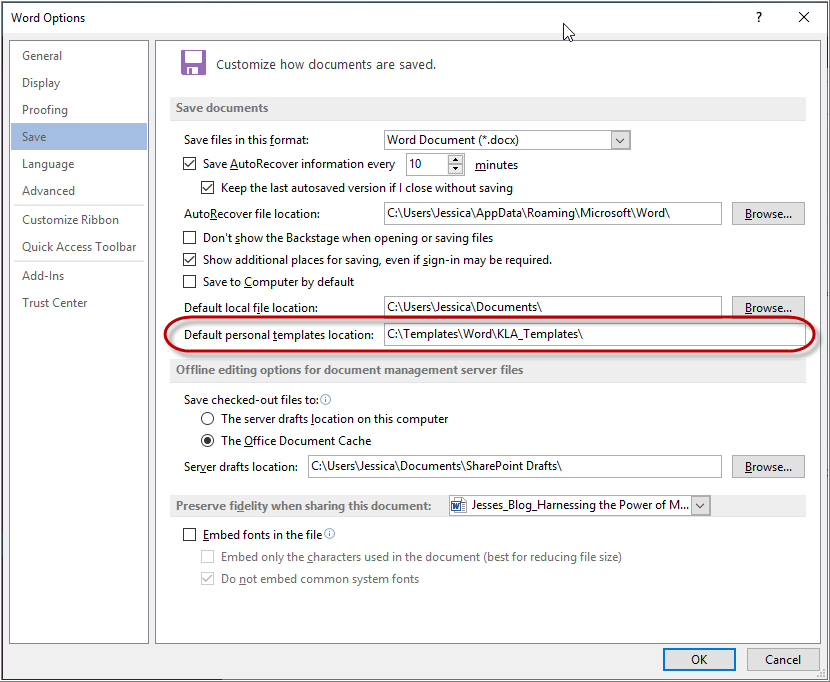
a. Select Save from the navigation pane on the left side of the screen.
b. In the Default personal templates location field, enter the desired path or, if you copied the path when you created the folder structure, paste the path.
c. Click OK. After you save one or more templates to this location, they will be available from within Word.
Create a Template
After you create a document with the desired sections, content, styles, etc., use the Save As command to save the document as a dot, dotx, or dotm (if you want to save macros in the template). Save the file in the template location that you defined to Word.
Once the template is in that location, you can access it within Word as described next.
Access Your Templates
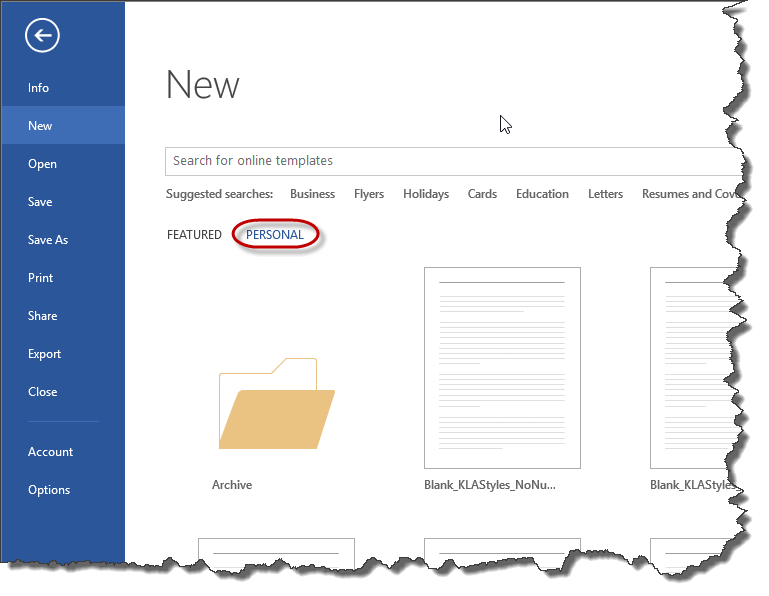
After you place a template in your defined template location, the Personal option will appear on the New screen. To create a new document based on an installed template, click Personal and then click the applicable template.
Applying a Template to an Existing Document
I’ve talked about how, if you use the same style names across your templates, you can complete an overhaul of formatting by applying a different template in just a few clicks. This is one scenario that calls for explaining how to attach a template to a document. There are other scenarios. For example, say you inherit a document and want to reformat it using your house styles, you can attach the template and begin applying styles to the content.
To attach one of your templates to a document you first need to display the DEVELOPER ribbon:
1. Select File > Options.
2. On the Word Options dialog:
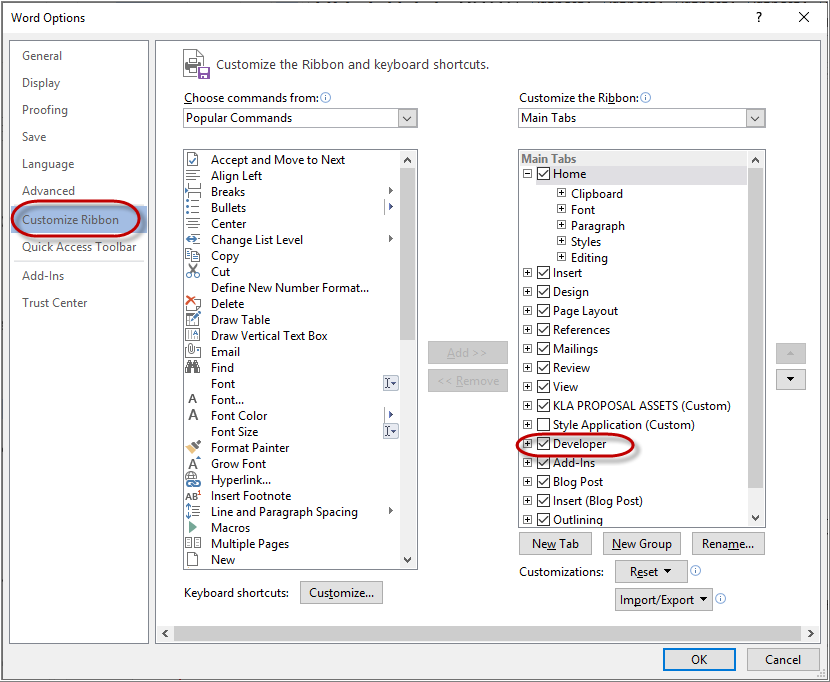
a. Select Customize Ribbon from the navigation pane on the left of the screen.
b. Check the Developer box in the list on the right side of the screen.
c. Click OK. The DEVELOPER ribbon will display at the top of your Word window.
Once the DEVELOPER ribbon is displayed, you can now attach a template to your document:
1. On the DEVELOPER ribbon, select Document Template.
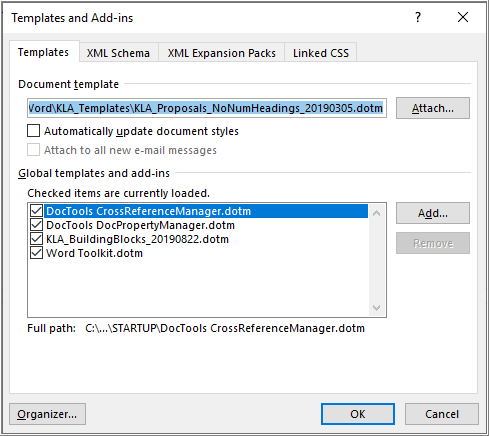
2. On the Templates and Add-in dialog:
a. Click Attach and navigate to and select your template file.
b. Select the Automatically update document styles checkbox if there are style names in the current document that match any of the style names in the template you are attaching and you want Word to automatically update content that uses those styles per the template definitions.
c. Click OK.
Note: In a perfect world, only a template administrator would modify style definitions and then distribute the updated template to others; however, it’s not always a perfect world. If you want to ensure any style modifications made in a document are preserved, be sure to clear the Automatically update document styles checkbox before you save and close the document. If you leave it checked, the next time you open the document, your style updates will be lost because Word will reapply the definitions from the template. Now, if you selected the option to apply your modifications to the underlying template, this note is moot.
Becoming the Master of Your Universe
Now that you know how to create a template and make it available for everyone in your organization and how to attach a template to an existing document, you are on the road to taking control over the look and feel of the documents your organization produces. After you read the next two posts about creating paragraph and character styles and incorporating complex numbering schemes into your styles, you will become the master of your universe.
Make sure you check back in to catch the rest of the Harnessing the Power of Microsoft Word series:
Other recent posts:

Kunz, Leigh and Associates (KL&A) Announces the Retirement of KL&A Co-Founder John Leigh
OKEMOS, MI, April 11, 2023 – Kunz, Leigh and Associates (KL&A) announces the recent retirement of KL&A Co-Founder John Leigh as of March 31, 2023. Mr. Leigh began his career as a developer working on large mainframe systems before moving…

Team Building in a Remote Environment
Blog Barista: Dana Graham | June 15th, 2022 | Culture | Brew time: 5 min
Let me start by saying I don’t care for the term “work family.” I have a family I love, and they have absolutely nothing to do with my career. I want my work life to be its own entity. I like boundaries (and the George Costanza Worlds Theory). Certainly, I want to enjoy and trust my coworkers, and I want to feel supported and cared for…
0 Comments