Blog Barista: Michael O’Keefe | Feb 12, 2019 | Web Development | Brew time: 6 min
Welcome back to the Firebase Series, and congratulations on making it through a very code-heavy Part 3! I apologize if the last part seemed to drag on but securing our applications is arguably our most important job as developers. If you’re going to build anything, you might as well build it correctly the first time, right?
In its current state, our application has two fully functional CRUD screens which took exactly 0 lines of code to secure (other than rules). Today, we will be taking a small break from coding and focus on getting our app hosted and serving via HTTPS FOR FREE! That’s right, zero cost, no credit card required HTTPS hosting for your application!
Brief Review
In Part 3, we set up our NoSQL data model with Firestore and added security rules to secure our users’ data. We have an almost completely functional review app ready for beta users or analysts to start testing. Right now though, we do not have a way for them to get to it. Firebase makes this very easy.
If you are just joining us, go ahead and clone this repository from GitHub and checkout the cloud-functions branch. You will have to follow Part 1 to get your environment set up and connect to Firebase using your credentials, but the code will be at the same place where we left off in Part 3. If you have already completed the previous parts, there is no need to checkout any other branch.
Enable Hosting in the Firebase Console
- Go to your project’s Firebase Console
- Select Hosting from the left side menu
- Click Get Started
- When Prompted, install the firebase-tools NPM module globally by running: npm install -g firebase-tools
- Stop your local development server if it’s running
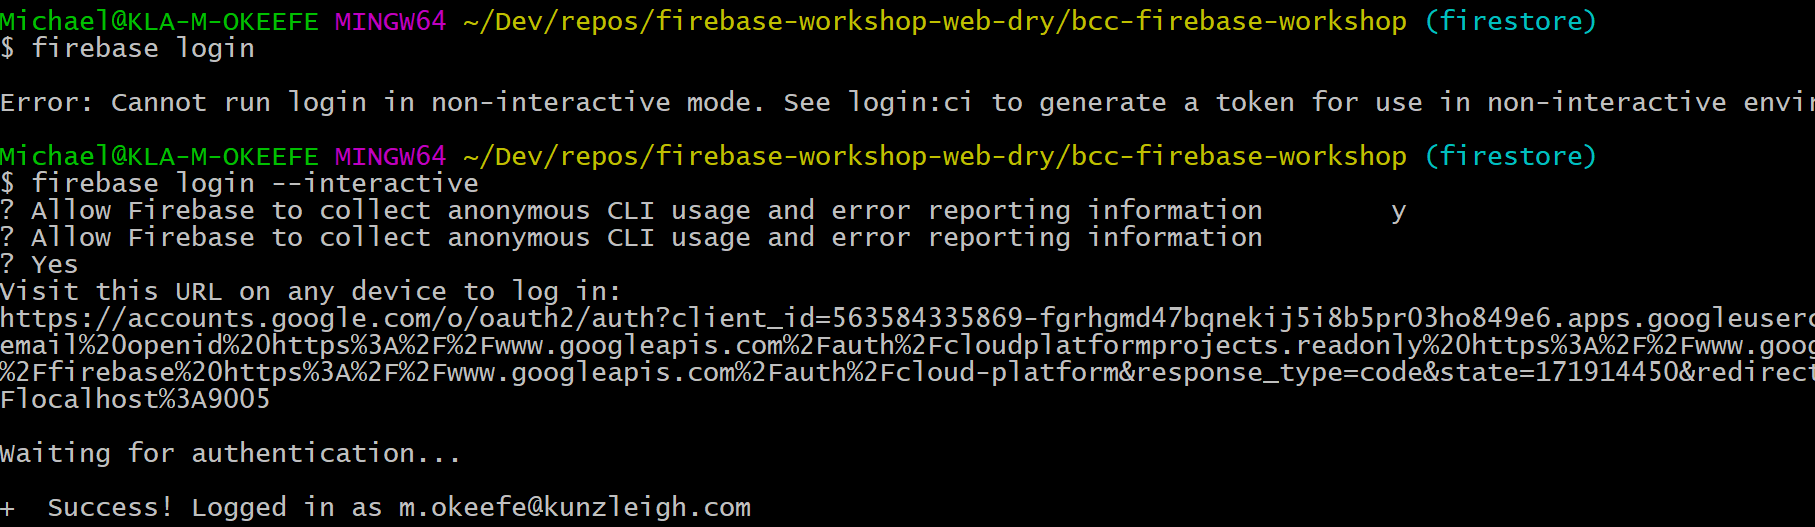
- In a terminal window in the root of your project directory, run: firebase login and log in using the same account that you used to set up your firebase project
Initializing the Project for Hosting
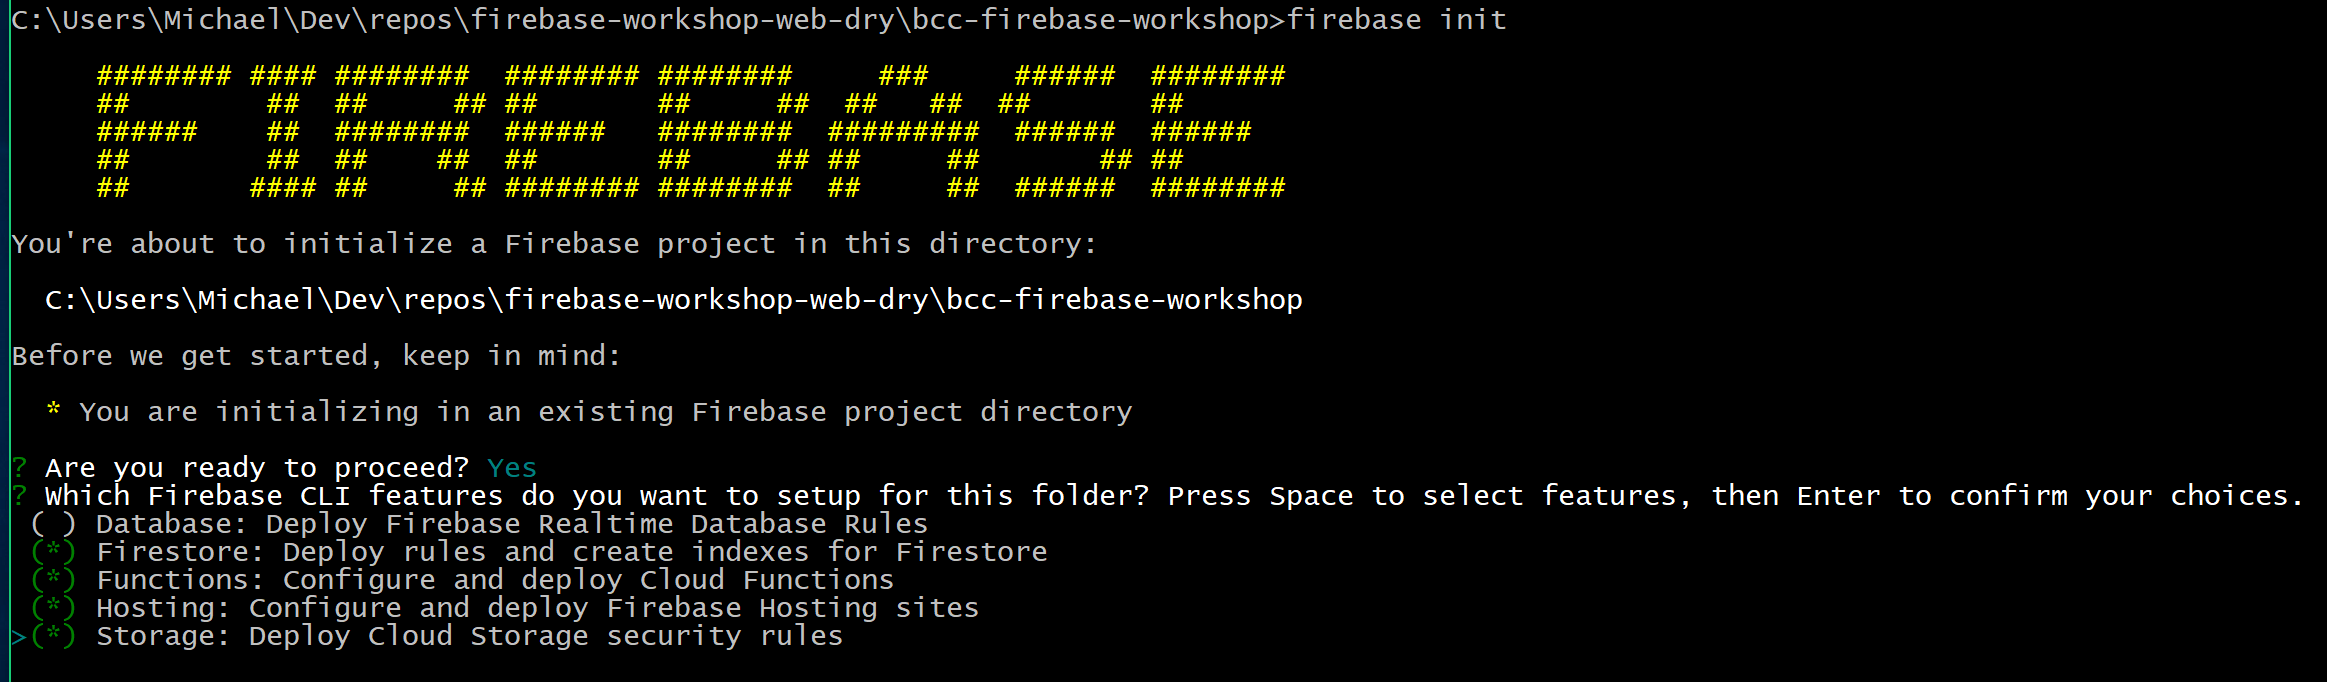
Next run: firebase init – this command will launch an interactive terminal session where you will set up the project structure needed to deploy your app and Cloud Functions to Firebase.
Answer “Yes” (Y) when prompted then proceed. Then, you will be asked which features you want to set up. Using the arrow keys and spacebar, select “Firestore”, “Functions”, and “Hosting and Storage” then hit enter.
Next comes the Project Setup section. You will be asked what firebase project you would like to use as the default for the directory you are in. Select the one that you created for this tutorial.
For Firestore rules, we will name the file firestore.rules. This is the default option, so you can just hit enter without typing anything. Then type “N” when asked if you want to overwrite the existing firestore.rules. Repeat this process when prompted for Firestore indexes (the file should be named firestore.indexes.json by default).
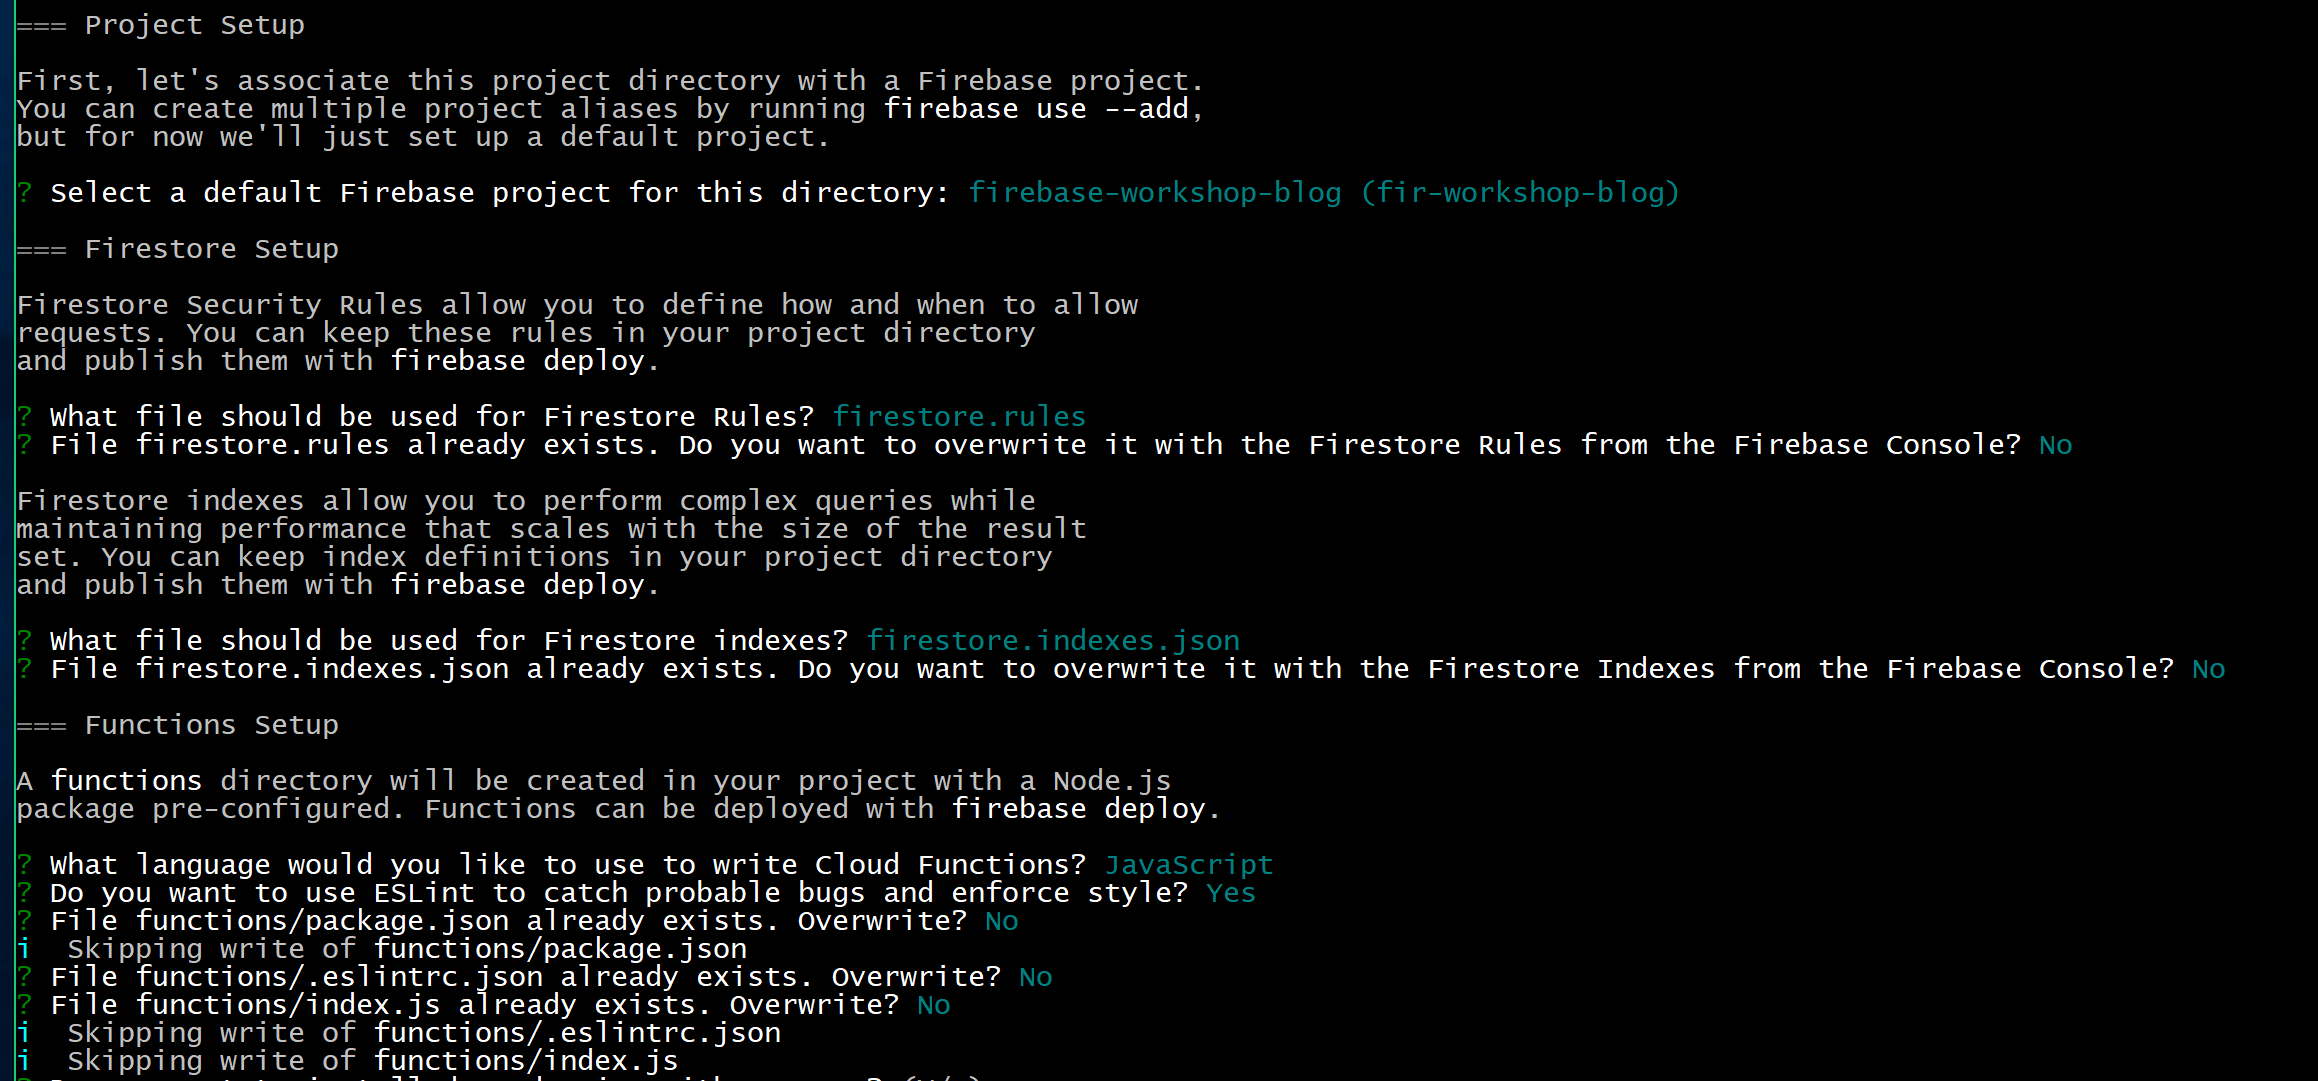
Select JavaScript as the Cloud Functions language. You will be asked if you would like to use ESLint, I would suggest that you do. Cloud functions can be difficult to debug, and it is nice to have the linter catch possible bugs in your code before allowing you to deploy. Answer “N” for the next three questions in this section. We have already supplied all of the files needed and if you overwrite any of them it will make for a confusing Part 5 of this tutorial.
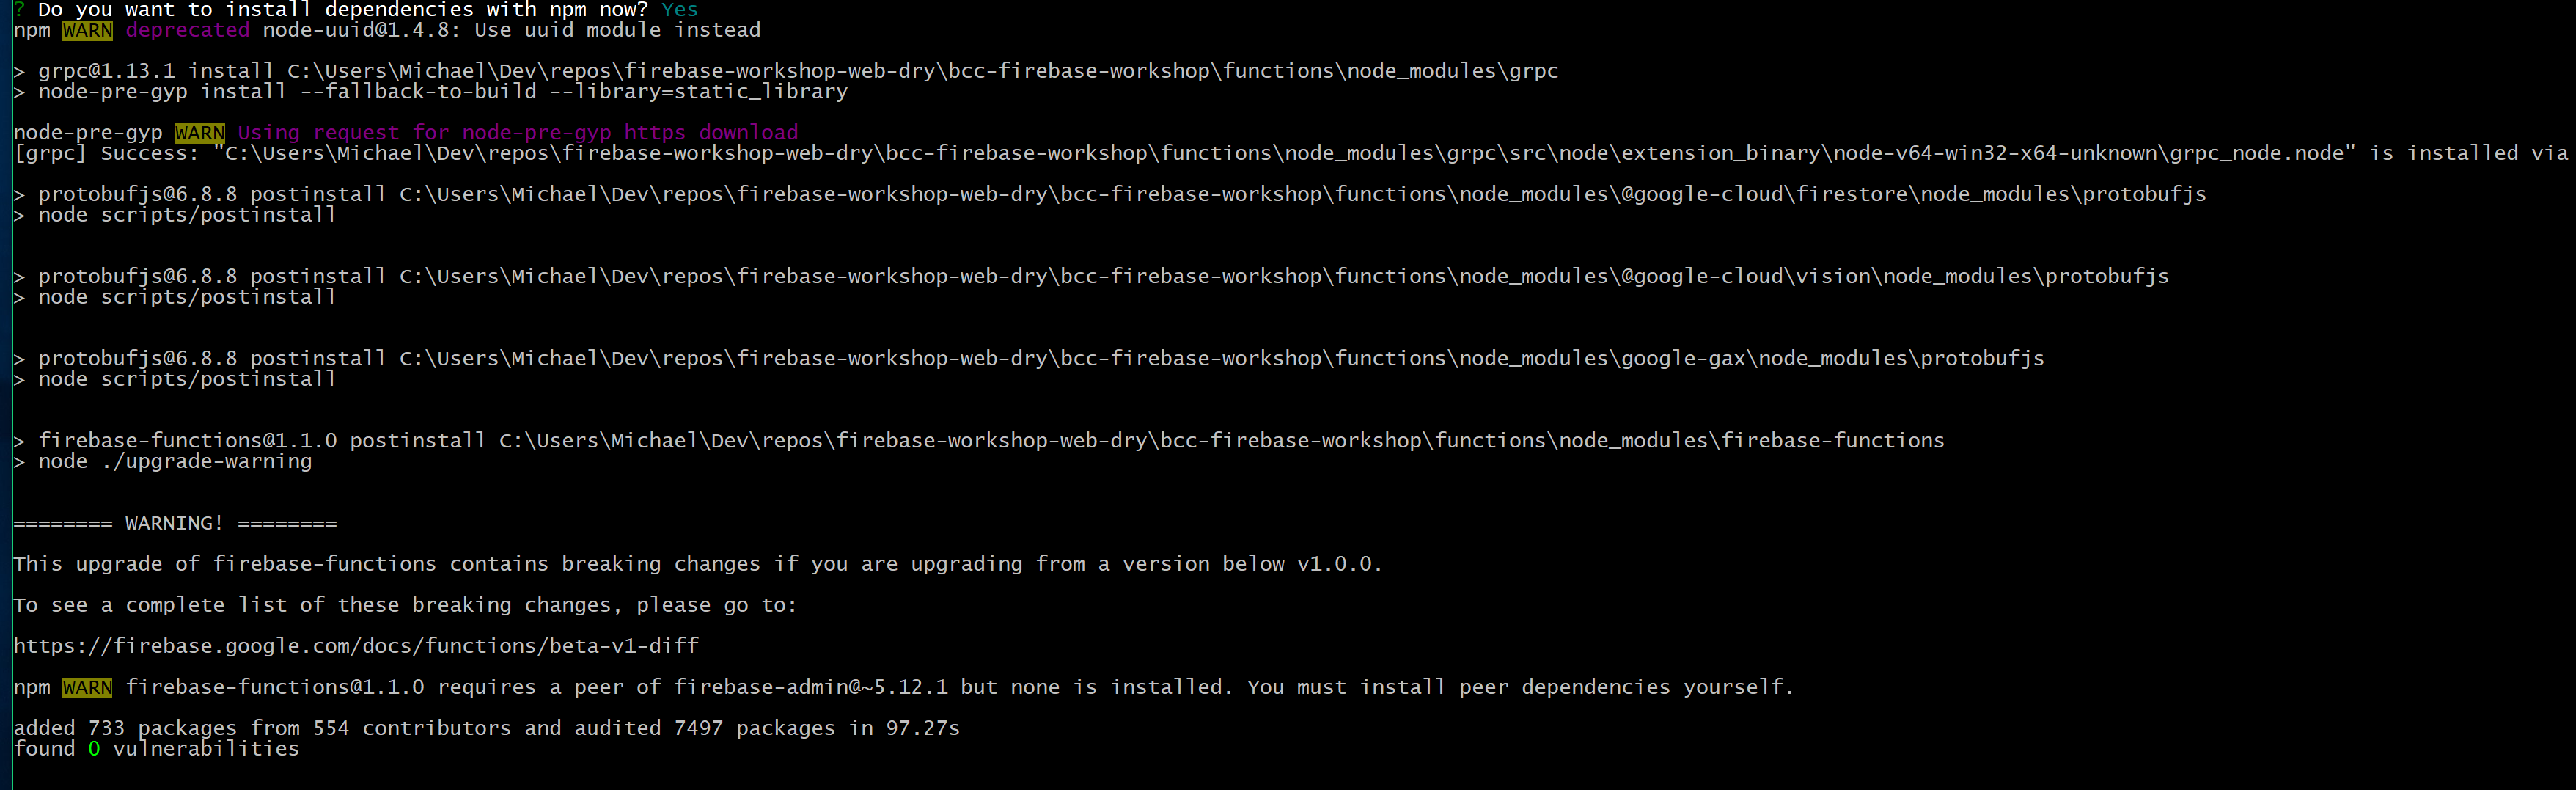
When asked to run npm install, answer “Y”. This will be needed as Cloud Functions are run in a Node environment and require some dependencies to work properly, including the Firebase Functions and Admin SDKs. We have included a couple other dependencies that will be needed for Parts 5 and 6.
For Hosting Setup, we will use dist as our public directory. This is where the angular CLI will build our application. Since this is a single-page app, answer “Y” when prompted thusly.
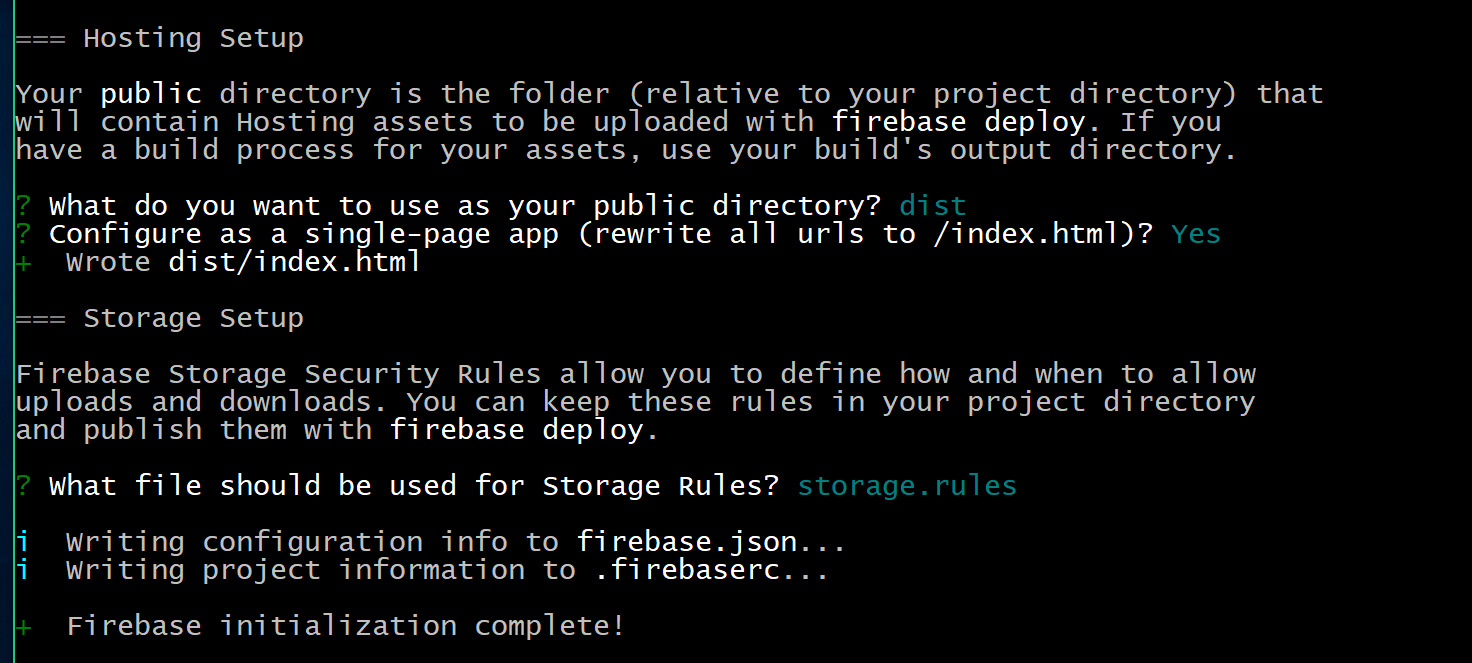
Lastly, use the default option for the Storage Rules file (storage.rules) by hitting enter when prompted.
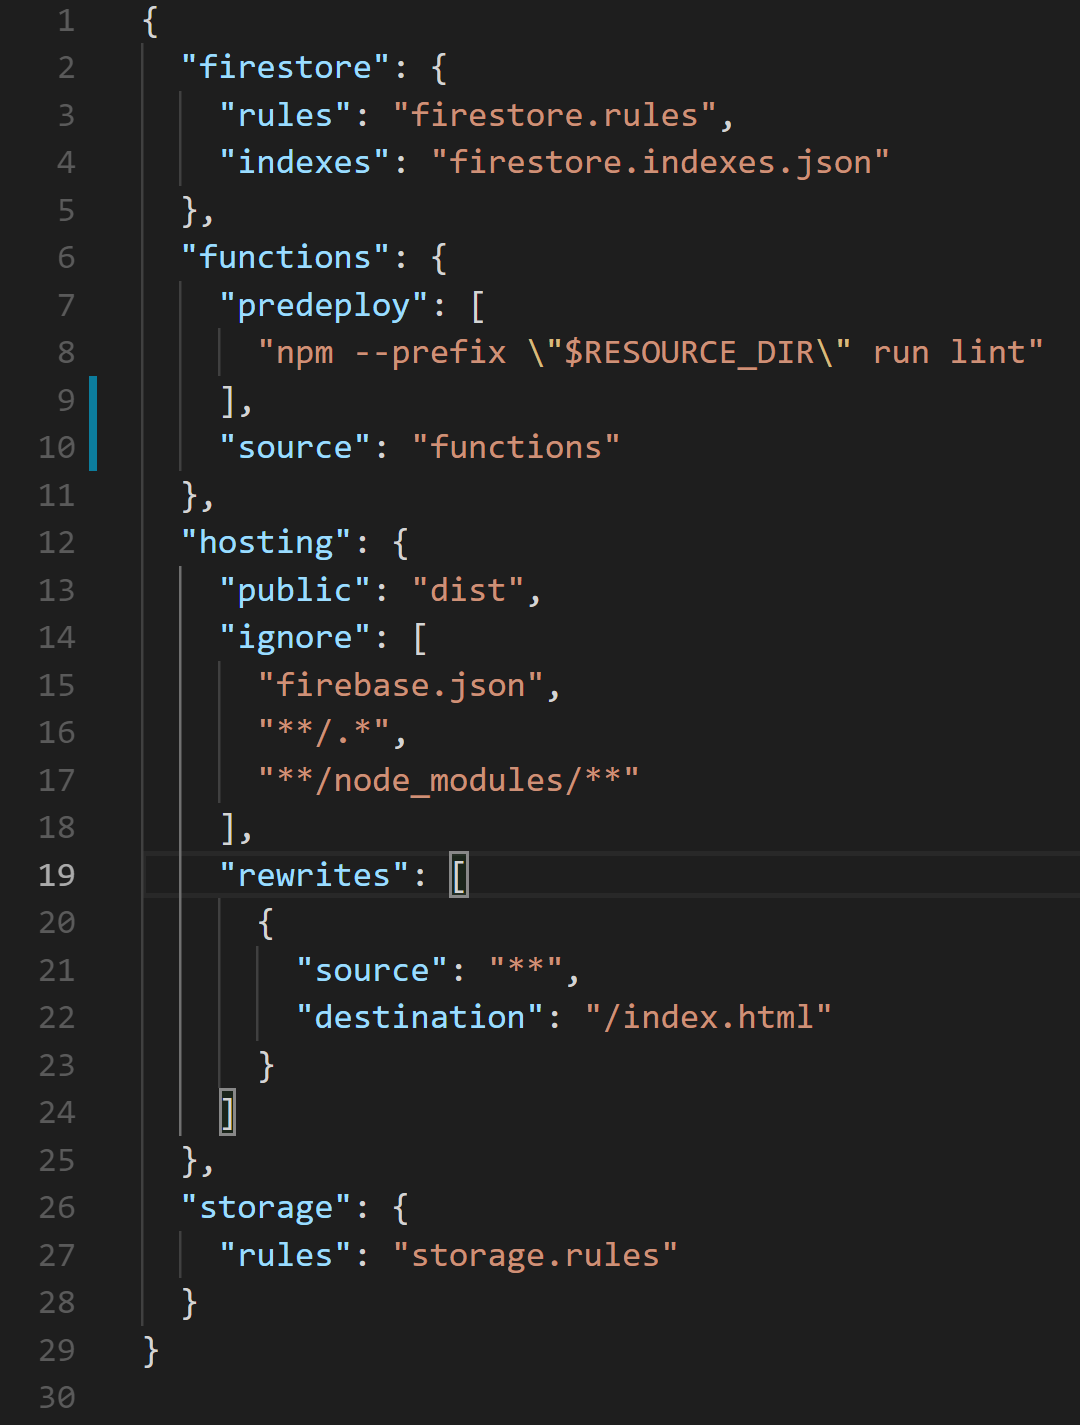
That was a lot of prompts to answer! But now your project is structured to be deployed to Firebase with CLI. You can make changes to your setup at any time in the firebase.json file, which should look something like this:
If you mess up your setup, have no fear! You can run firebase init again at any time and make whatever changes you need by following the prompts.
The last thing we will want to do is copy our Firestore Rules from the project console (Database > Rules) into our firestore.rules file and add the composite index we created earlier into firestore.indexes.json. If this step is not completed, deploying will overwrite the remote versions with the empty local files.
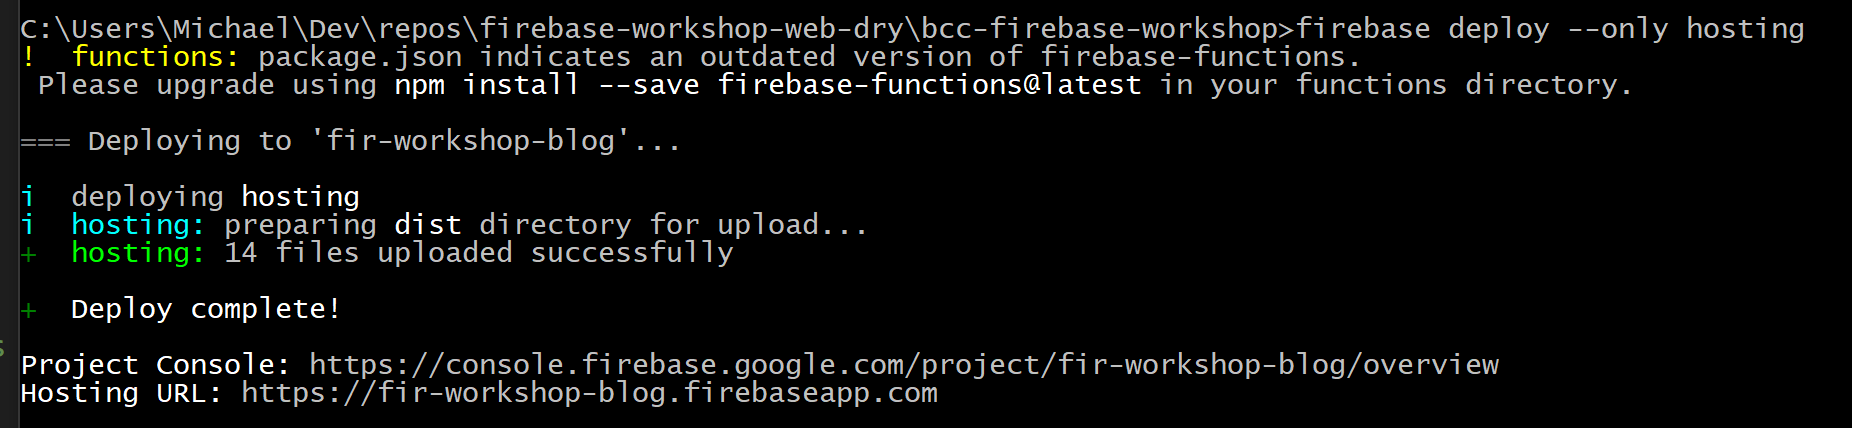
Next run ng build to build your project to the dist directory. Then run firebase deploy—only hosting. The CLI tools will use the structure we just set up to push the contents of your dist directory out on a Google cloud static hosting server. You will get this (along with a public facing firebaseapp.com domain) free of charge, and the best part is that they automatically create and assign an SSL cert for you, again completely free of charge. When the deploy is complete, a Hosting URL will be given to you that will looking something like this. If you follow that URL, you should see your app!
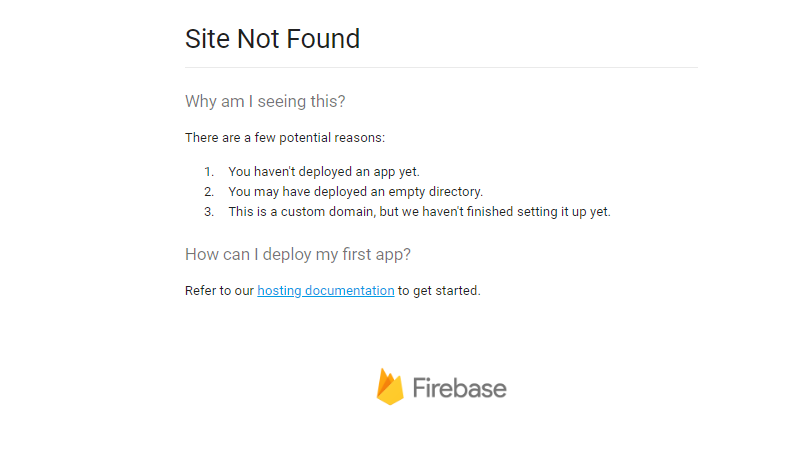
If you get a Site Not Found message, it is most likely because your dist folder was empty, or that you did not set up hosting to deploy your dist folder. Please make sure that your development server is not running while you are deploying as this moves the resources from the dist folder. And also, double check that your firebase.json hosting.public key points to dist.
You now have a public facing application leveraging https and Google Cloud’s extensive CDN completely for free!
Next Time
In Part 5, I will walk you through Cloud Functions. Cloud functions, which can be triggered by various actions and events in our app, are extremely powerful. They allow us to handle asynchronous behind the scenes work without slowing down the application’s performance since they automatically scale based on application load. Sounds pretty cool right?
Other recent posts:

Kunz, Leigh and Associates (KL&A) Announces the Retirement of KL&A Co-Founder John Leigh
OKEMOS, MI, April 11, 2023 – Kunz, Leigh and Associates (KL&A) announces the recent retirement of KL&A Co-Founder John Leigh as of March 31, 2023. Mr. Leigh began his career as a developer working on large mainframe systems before moving…

Team Building in a Remote Environment
Blog Barista: Dana Graham | June 15th, 2022 | Culture | Brew time: 5 min
Let me start by saying I don’t care for the term “work family.” I have a family I love, and they have absolutely nothing to do with my career. I want my work life to be its own entity. I like boundaries (and the George Costanza Worlds Theory). Certainly, I want to enjoy and trust my coworkers, and I want to feel supported and cared for…
0 Comments